Section 3: DNS Zone Configuration
Step 1: Creating a DSN Zone (Click here to view Flash Video)
In your Administrative Account, click on "E.Manager" from top navigation menu and select "DNS Manager". You will see the following screen:

Click on "Add DNS Zone". You will then see the following screen:
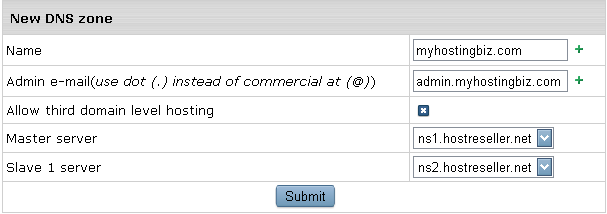
Name: Must be the host name of your new DNS zone. If myhostingbiz.com is your main hosting site and you want ns1.myhostingbiz.com and ns2.myhostingbiz.com to be your DNS servers, enter myhostingbiz.com as your DNS host name.
Admin Email: The admin email address for your DNS zone. Remember to replace the "@" symbol with a period. If myhostingbiz.com is your DNS host name, enter webmaster.myhostingbiz.com.
Master server & Slave 1 server: Leave both as is.
Click "Submit" to create your DNS zone.
Step 2: Creating an Instant Domain Alias
Instant Domain Aliases will allow your customers to access their web site before their domain is actually pointing to your name servers. Once you have created your DNS Zone, you'll see a screen like this:

Click the  icon. You should now see a screen like the following: icon. You should now see a screen like the following:
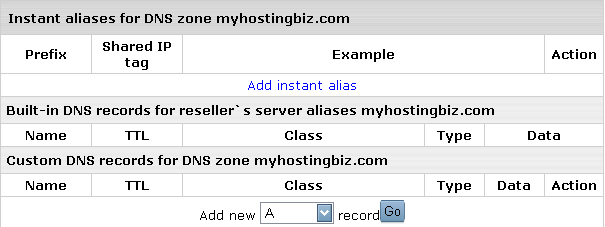
Click "Add instant alias" and you will get the following screen:
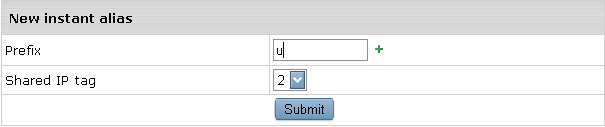
Prefix: Enter any letter.
Shared IP Tag: Leave it as is.
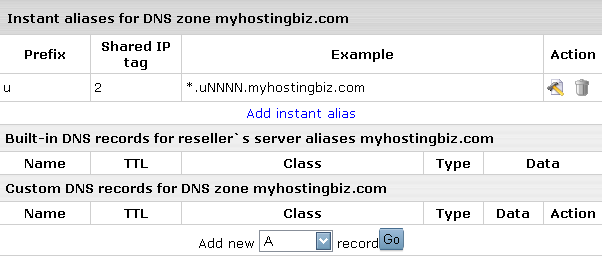
After clicking "Submit" you will be taken to a screen that looks like the following:
Step 3: Creating your Server Aliases (Click here to view Flash Video)
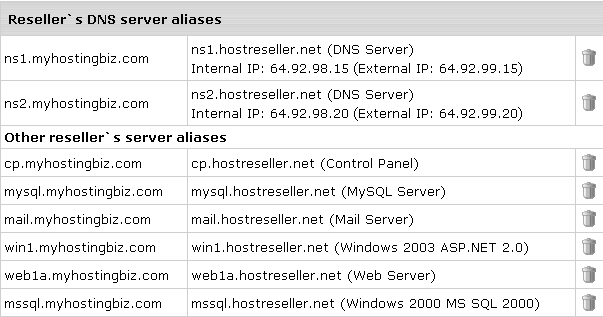
Click "E.Manager" on the top navigation bar and choose "Server Aliases". You will see the following screen:

Click the first "Submit" button. The page will refresh, after that click the second "Submit" button. When finished, you should see a screen like the following:
|