This guide is designed to help new resellers set up
their account. H-Sphere is a powerful reseller system, understanding
it can be challenging to new users. We are confident that you will enjoy the full range
of features offered as you become more familiar with the software. Please read through this document carefully to ensure you get the most out of your account.
Section 1: H-Sphere Introduction
H-Sphere is a complete front end Control Panel and integrated back end for automating day to day tasks of web hosting operation such as billing, e-mail, web, FTP, DNS, POP3, cgi-bin, Webmail and FrontPage configuration. On the front end it is a user-friendly and intuitive web interface that allows complete customer self-care and can drastically cut down on maintenance and customer support costs. On the back end it is a system for managing above mentioned server side operation tasks that include support for various hosting plans, operating systems, database platforms and e-commerce services.
H-Sphere makes reselling easy as it is a multi-level, multi-platform Control Panel with complete billing and support integrated into it. Our system supports both Windows and Unix platforms. This means that as a reseller you can create plans and resources on both our Windows and Unix servers. As a reseller you must understand that there are three primary Control Panel levels in H-Sphere:
1) Your Reseller Account CP: This is the Control Panel that you as a reseller will see when you login to your reseller account. It allows you to view and update your hosting package as well as your billing & contact information. You can also use this interface to submit & check the status of trouble tickets through H-Sphere's integrated support center.
2) Your Reseller Administrative CP: This is the Control Panel you will be working with most frequently. It allows you to setup your name servers, merchant gateway, hosting plans, support, billing, and all other aspects of running your hosting business. It also allows you to manage your customers accounts and moderate signup requests.
3) Your End-User's CP: This is the Control Panel that your customers use to manage all aspects of their web site. Here customers can setup web sites, mail boxes, databases, and everything else that pertains to their account.
Section 2: Getting Started
Step 1: Your Welcome Email
After you complete our signup process a welcome letter is sent to the e-mail address you specified as the account contact. If you do not receive this e-mail within 24 hours please contact our support department. Below is an example of the e-mail message you will receive:
Dear John Smith,
Thank you for choosing HostReseller for your Web hosting needs. We look forward to working with you to make sure you get the most of your account, and we wish you success with your online venture.
To access your account with the Control Panel, use the following information:
You can access your account immediately by going to http://cp.hostreseller.net:80/psoft/servlet/psoft.hsphere.CP
Login: myusername
Password: mypassword
Account ID: 2701
Thank you for your business,
HostReseller
Step 2: Accessing Your Account
Open the Control Panel link in your welcome e-mail, this should bring you to a screen that looks like this:
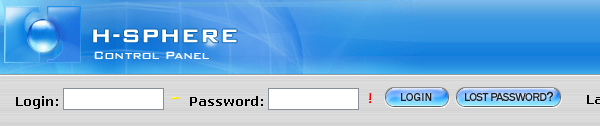
Type in your Login and Password as described in the welcome letter and click LOGIN. If for some reason the login process does not work, please ensure that you are typing the Login and Password exactly as they appear in your welcome letter. If you continue to experience problems please contact our support department.
Step 3: Entering your Administrative Account
Once you have successfully logged in to the top level account, you will see the following:

Click the  icon to login. You will then be logged into your Reseller Admin Control Panel, which should look like the following: icon to login. You will then be logged into your Reseller Admin Control Panel, which should look like the following:

Note: Clicking the login button causes a new window to popup. If you experience problems please make sure you have disabled any active popup blocker, or simply add the site to your popup blockers allow list.
Step 4: Setting up your Company Info (Click here to view Flash Video)
The first thing you should do after logging into your administrative account is setup your company information. To do this please click the "Look and Feel" button on the top navigation bar and choose "Company Info". After doing this you will see the following screen:
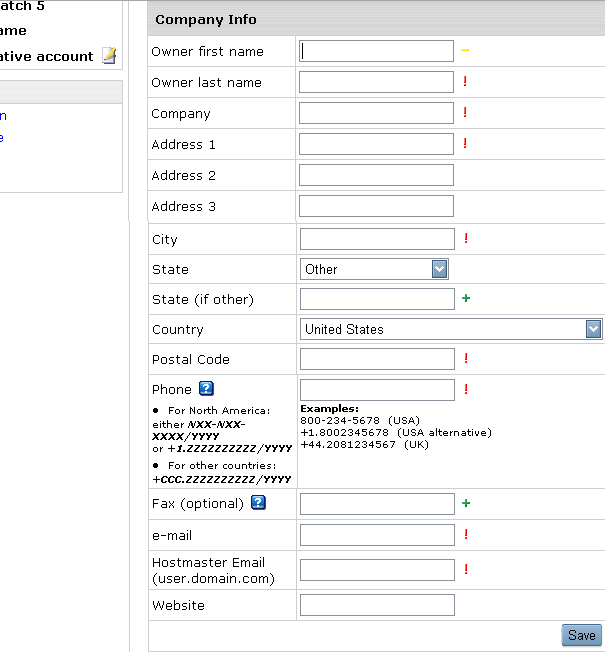
Note: The "Hostmaster Email" address requires that you use a period instead of an @ symbol. I.e. if your address was john@domain.com you would enter john.domain.com.
Fill out the required information and click "Save".
|